
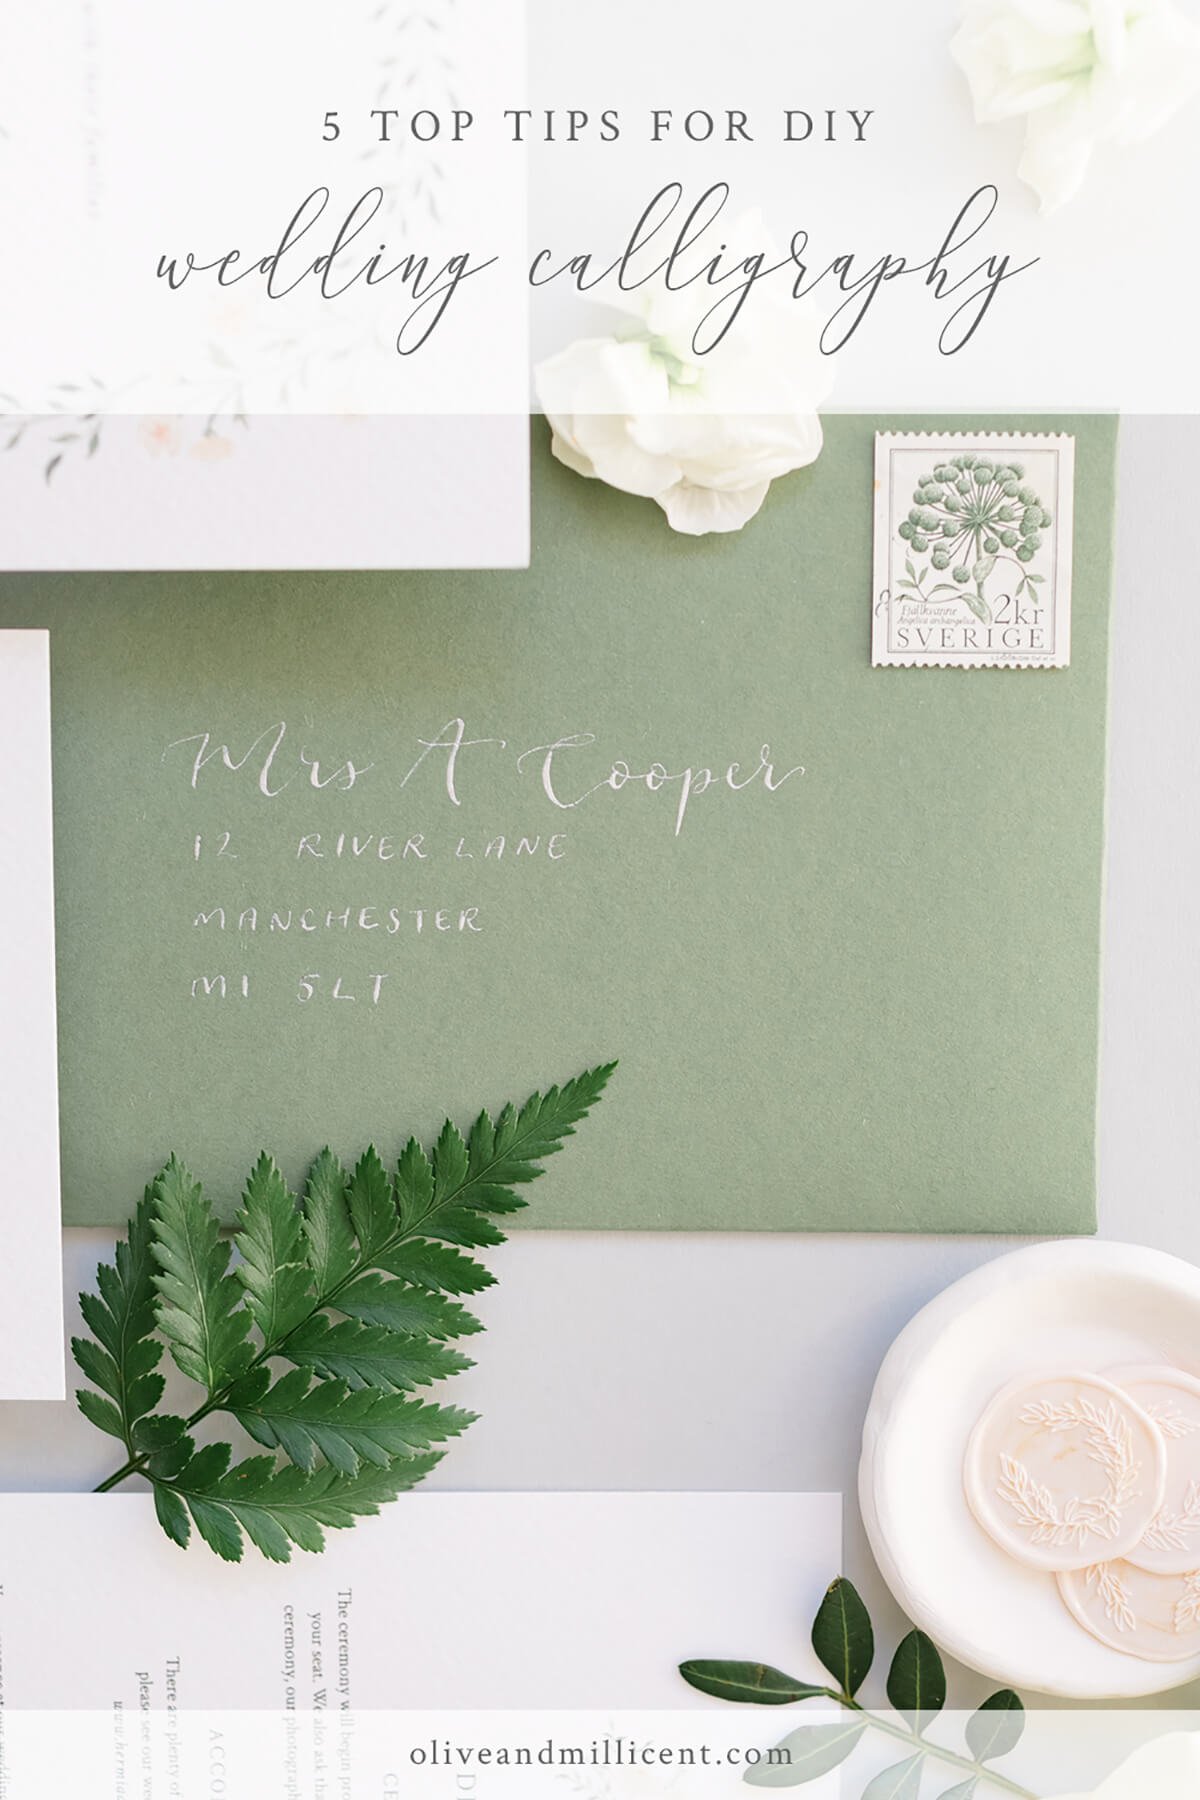
If you’re in the process of planning your wedding, chances are that you’ve considered including some DIY elements for your day (especially if you’re a creative couple).
One of the most popular things to DIY when it comes to weddings is calligraphy, and I can totally understand why. It’s a really relaxing and rewarding hobby and it’s relatively inexpensive in terms of start up costs too.
I’ve been practising modern calligraphy for over 5 years now, so thought I’d share a few tips and things to consider if you’re wanting to have a go for your own wedding.
1 - START EARLY
Photos by Natalie Stevenson Photography
If you know that you’d like to do your own wedding calligraphy, start learning as early in your planning journey as possible. You need to allow plenty of time to get to grips with your new skill and everything that comes with it. And who wants to be stressed trying to learn calligraphy a few weeks before their wedding?
2 - EXPERIMENT WITH TOOLS & MATERIALS


Photos by Natalie Stevenson Photography
When you’re starting out, it’s always a good idea to try a range of nibs, pen holders, inks and papers to see which might work best for you. I usually recommend beginners start with a Nikko G or Zebra G nib and a straight pen holder first but once you grow in confidence you might find that another nib/pen holder combination works best for you. A lot of calligraphy is about trial and error, you’ll find that some nibs aren’t compatible with certain types of paper and that some materials only work with specific inks.
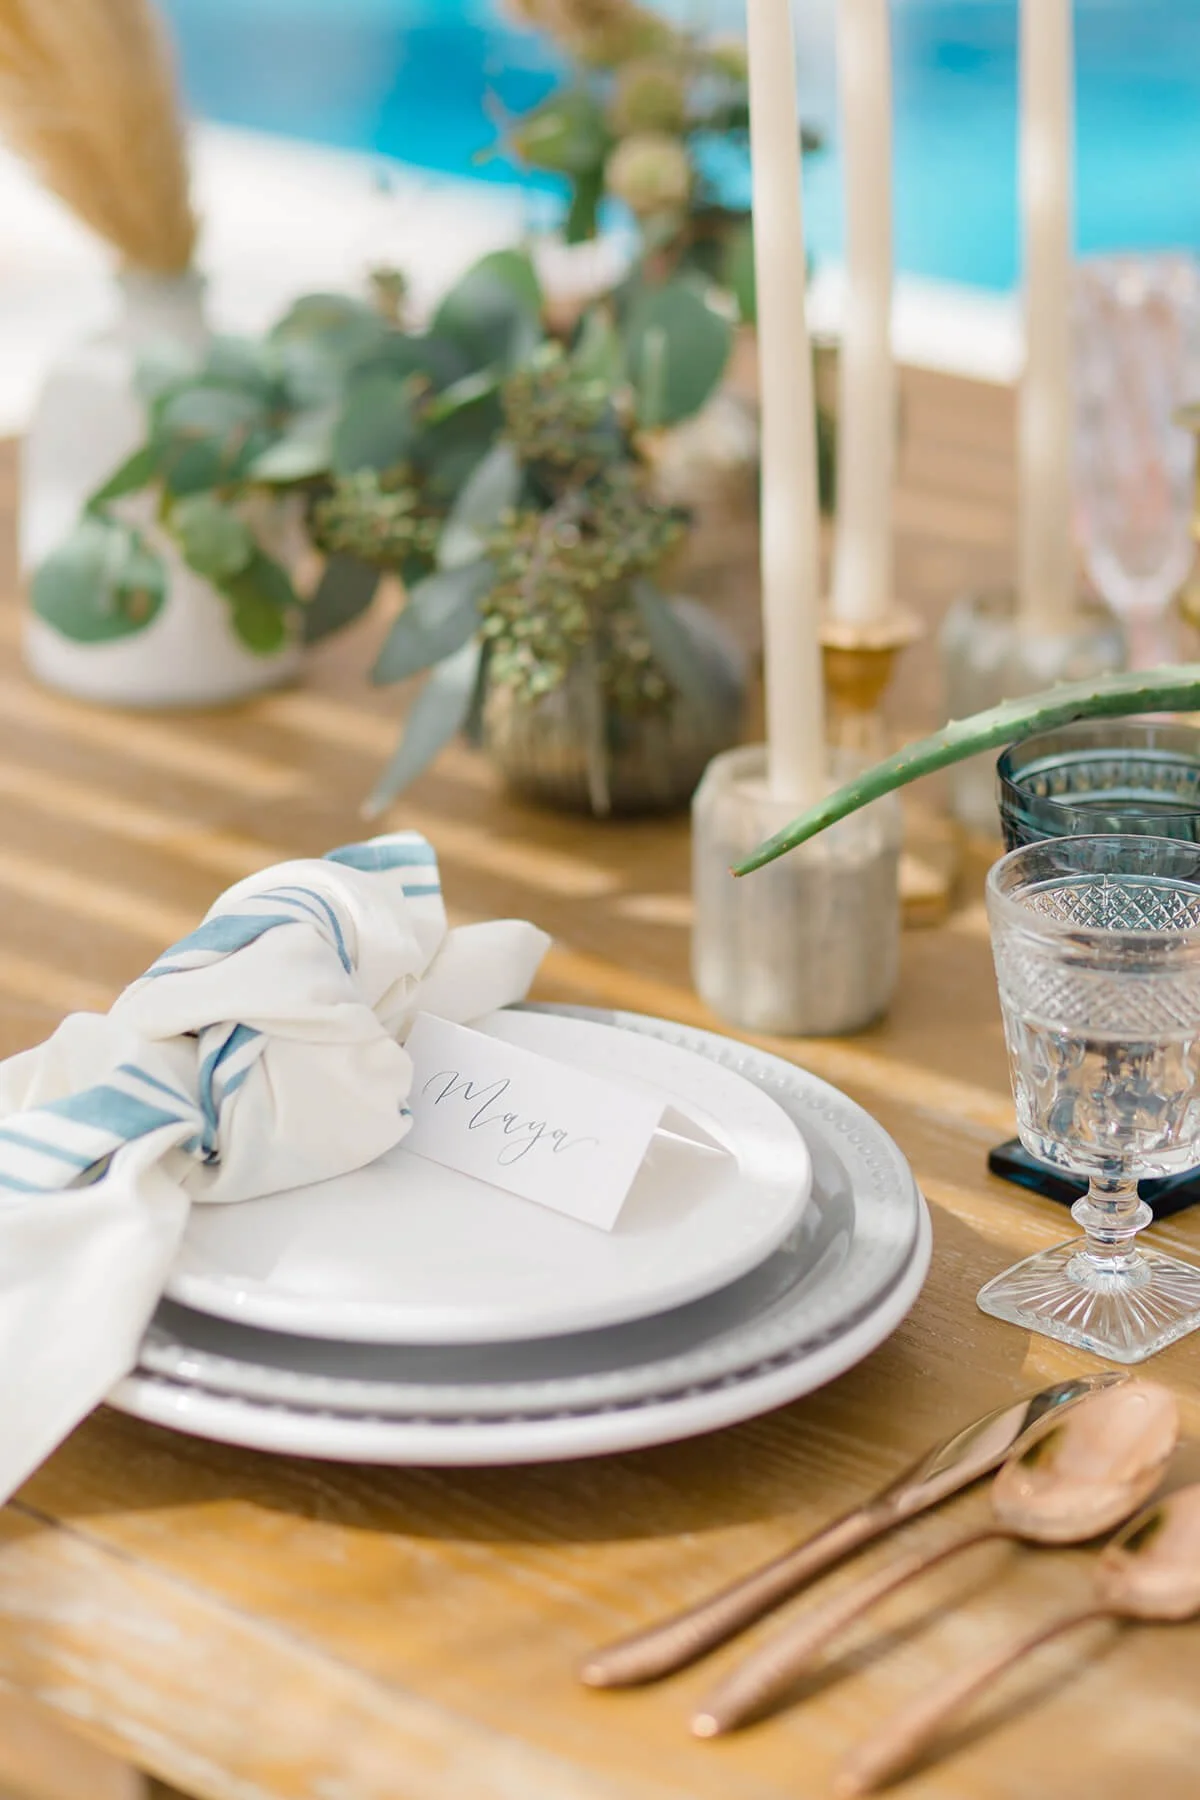
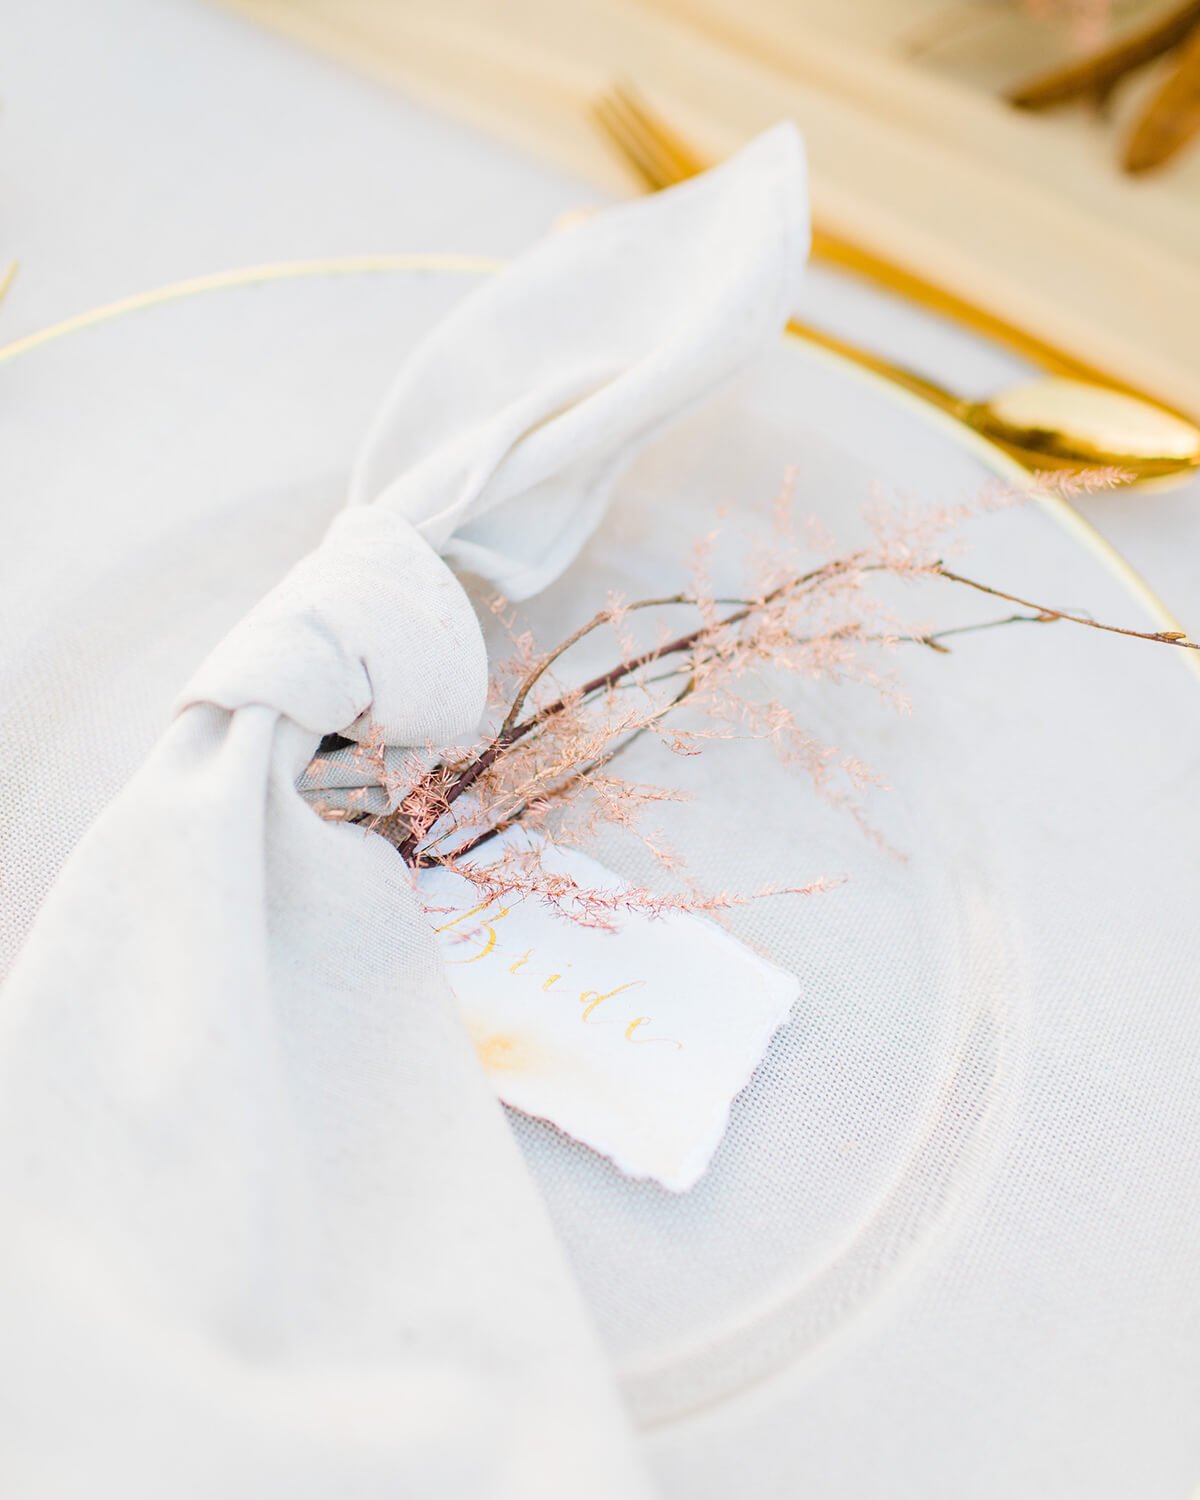
3 - ORDER PLENTY OF SPARE MATERIALS

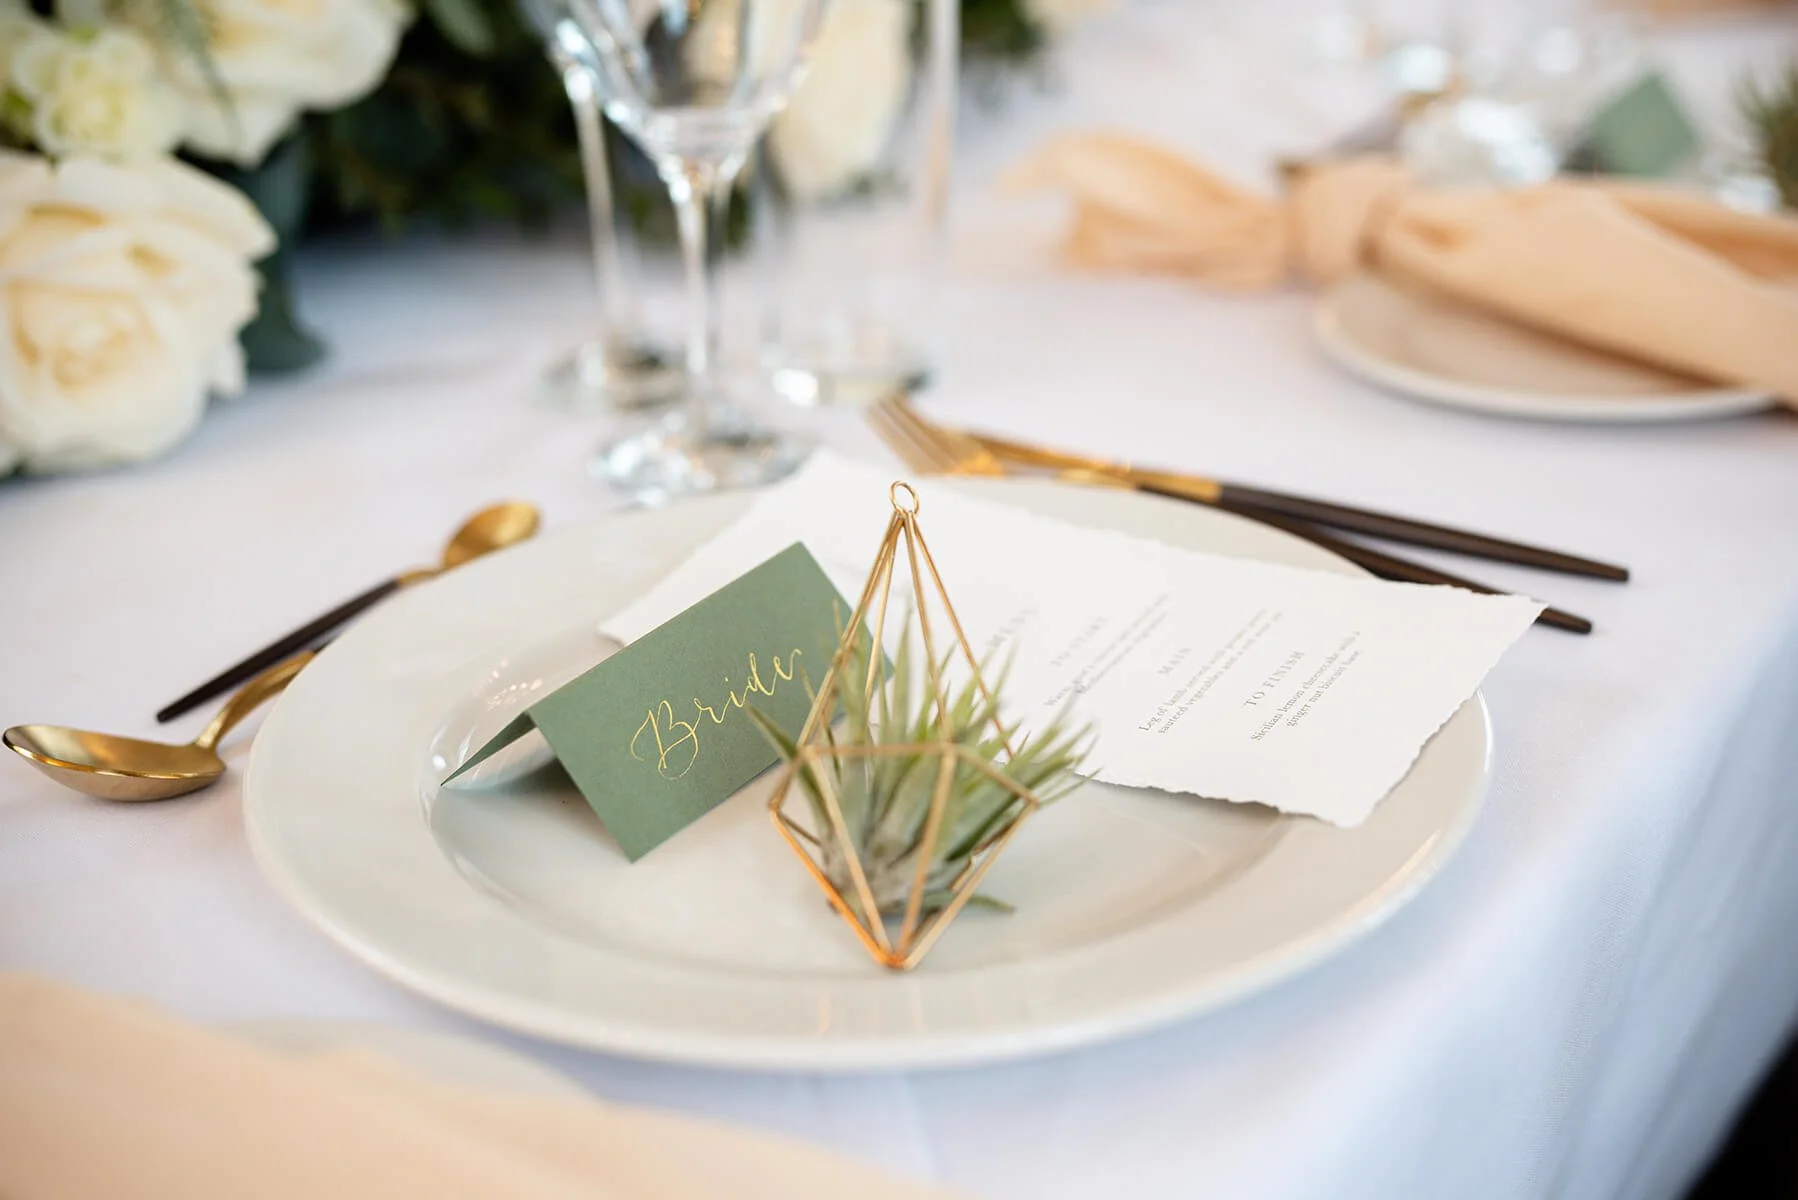
Photo by Nicki Spendelow Photography
When I embark on a calligraphy project, whether it be envelopes or place cards I always order plenty of spares. Mistakes happen sometimes, especially when you’re starting out, so it’s important to have some spare envelopes/place cards (or whatever you might be working on) just in case. A good rule to follow is to order around 10-15% extra, to be on the safe side.
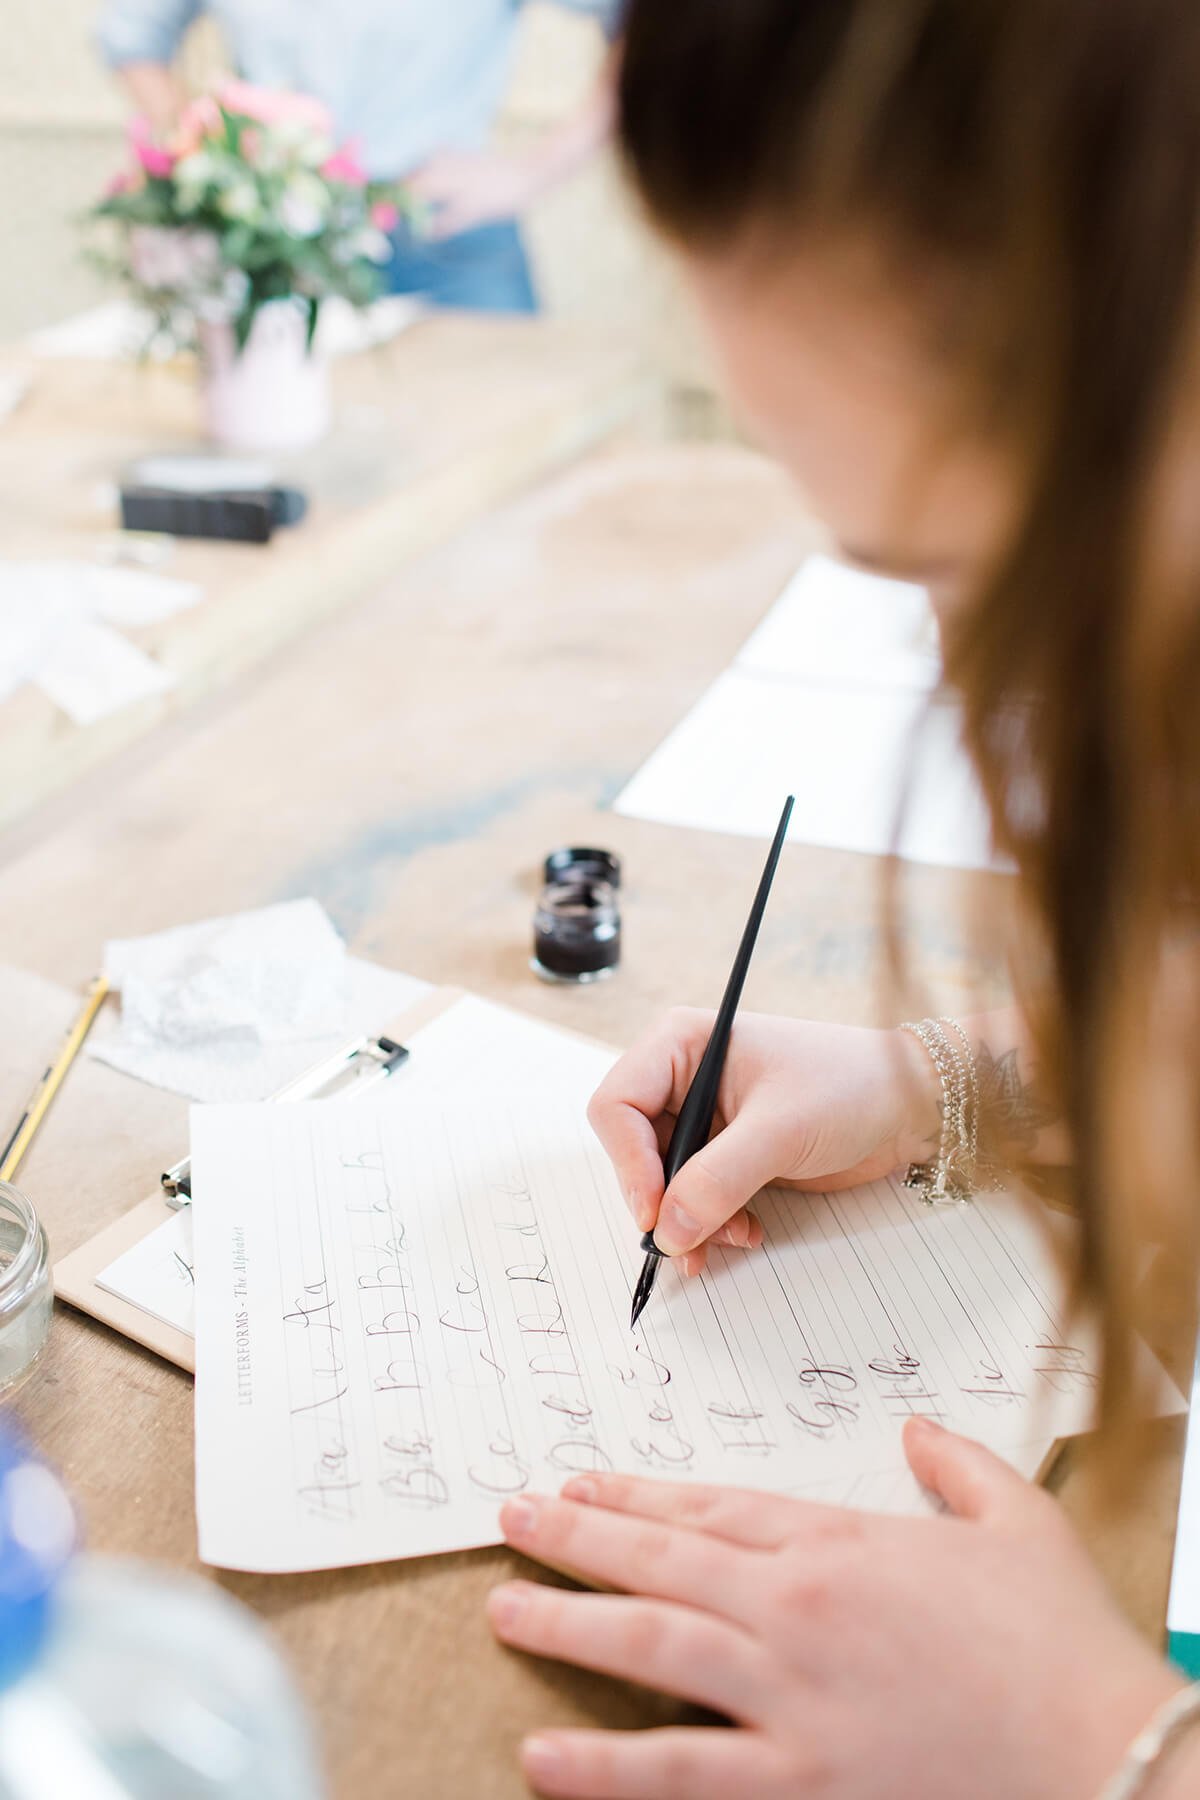
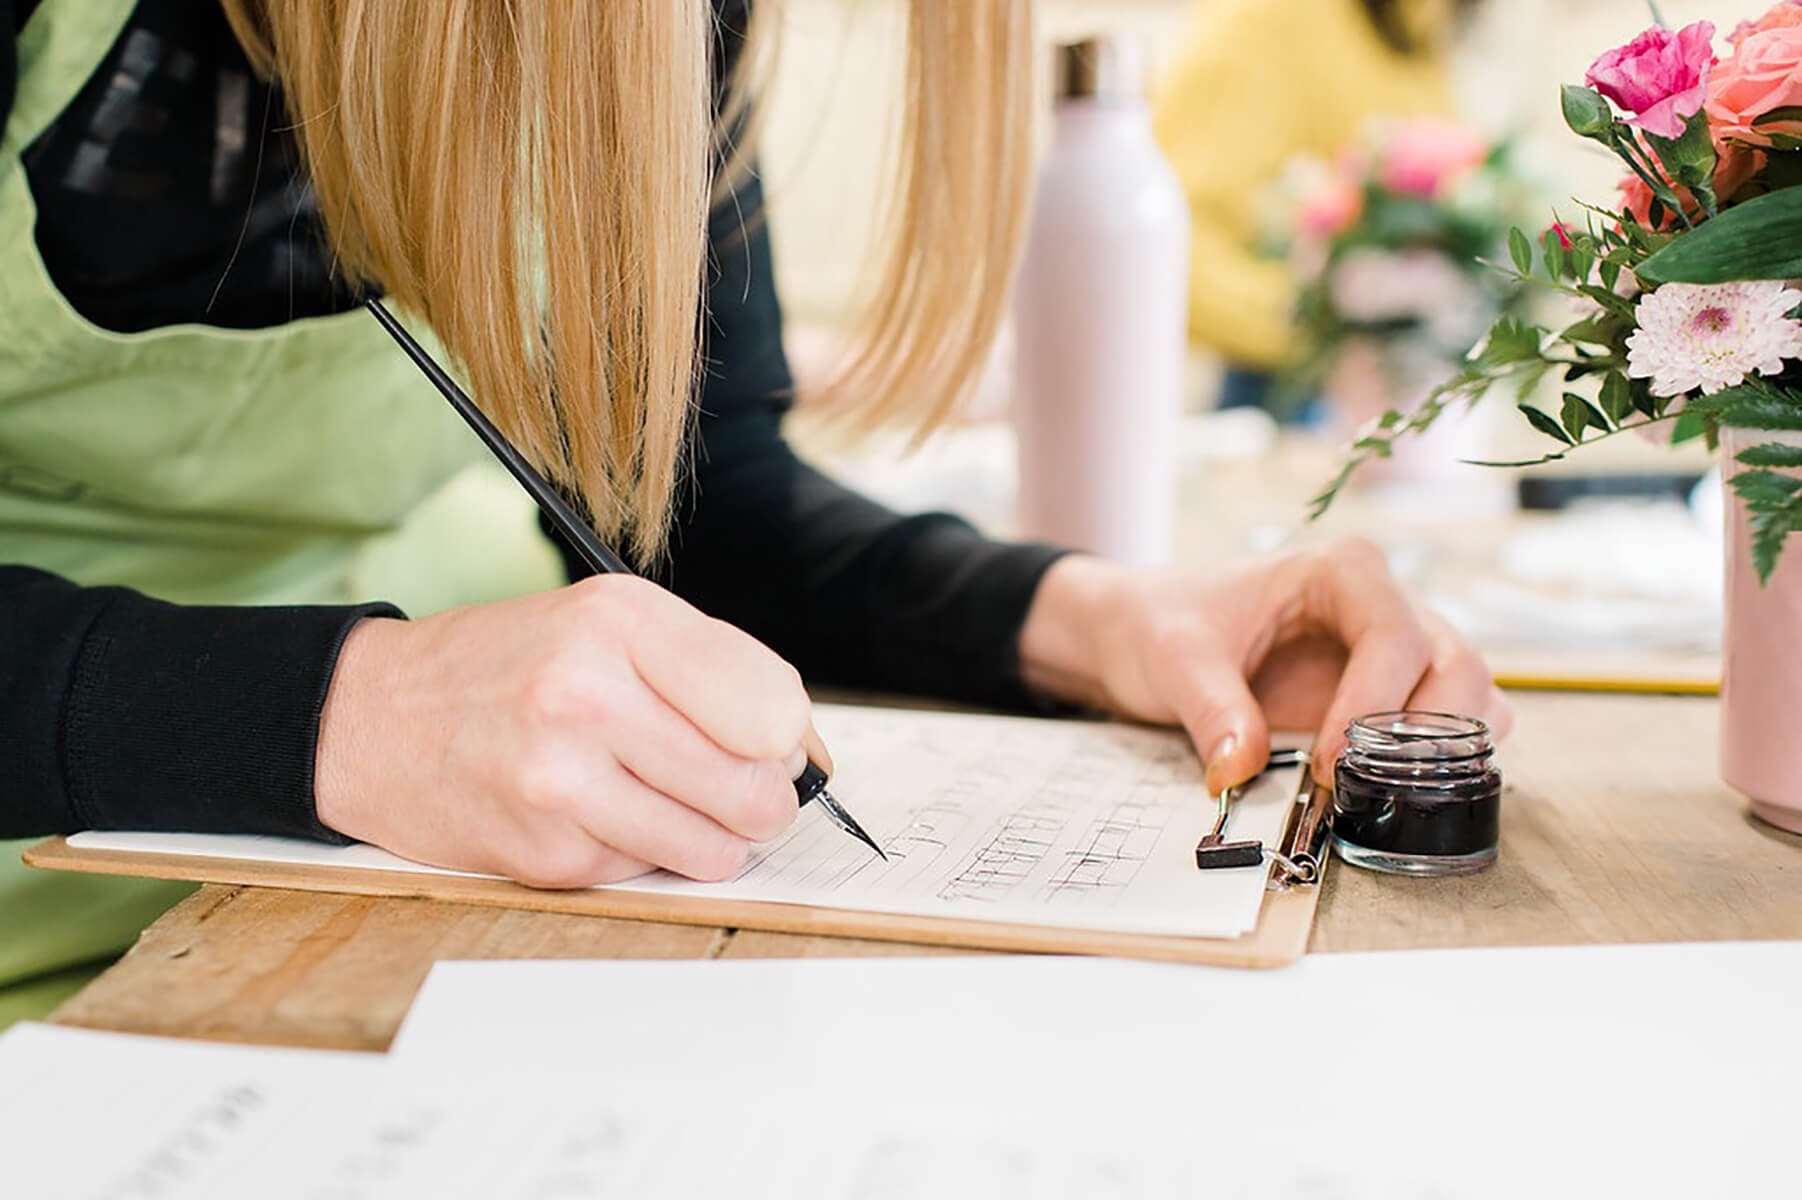
4 - PRACTICE MAKES PROGRESS
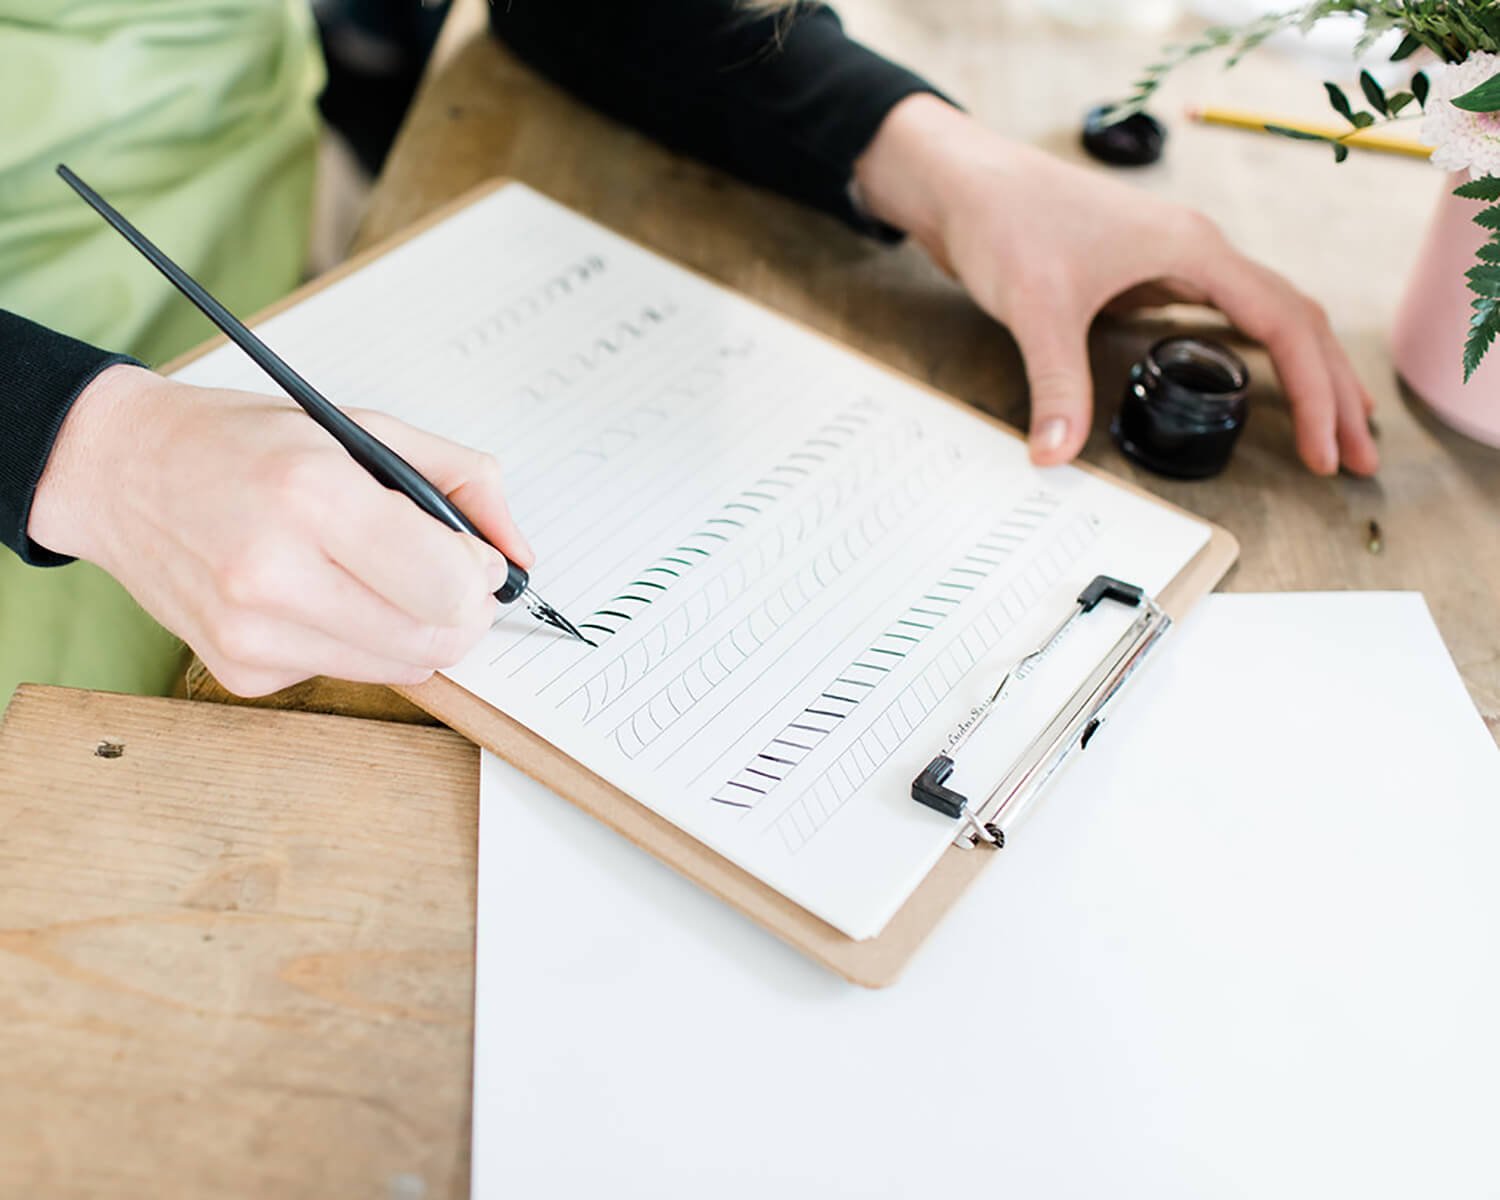
Photo by Natalie Stevenson Photography

Calligraphy can be a bit physically challenging when you first start learning - not in the same way as running marathon of course but I’ll elaborate. The way you hold the pen and write is completely different to how you usually hold a pen or pencil, so it can feel a bit unnatural and uncomfortable at first. After a bit of practice, the muscle memory kicks in and everything flows a lot more smoothly. This is why it’s so important to do regular calligraphy drills, as they help you work on all of the essential strokes and keep your calligraphy muscles flexed and ready to go!
5 - PATIENCE IS KEY

Photos by Natalie Stevenson Photography
Calligraphy definitely isn’t something you can learn overnight. And while I believe anyone can learn and create something beautiful, it’s definitely a skill that develops with time and patience. So don’t be disheartened if you’re not happy with your work the first time you try, with a bit of perseverance, you’ll get there eventually.
If you’re on a tighter schedule or think you’d benefit from more step by step guidance, attending a local calligraphy class is a great option. Most classes will include a starter kit in the price, so you’ll have everything you need to get started and you’ll get to learn all the tips from the experts first hand. If you’re local to me, I run regular workshops for beginners at Bedfordshire Flower School.
Or if you’d rather have some guidance from home, there are plenty of calligraphy starter kits available online, along with printable workbooks. You can get mine over on my shop.